
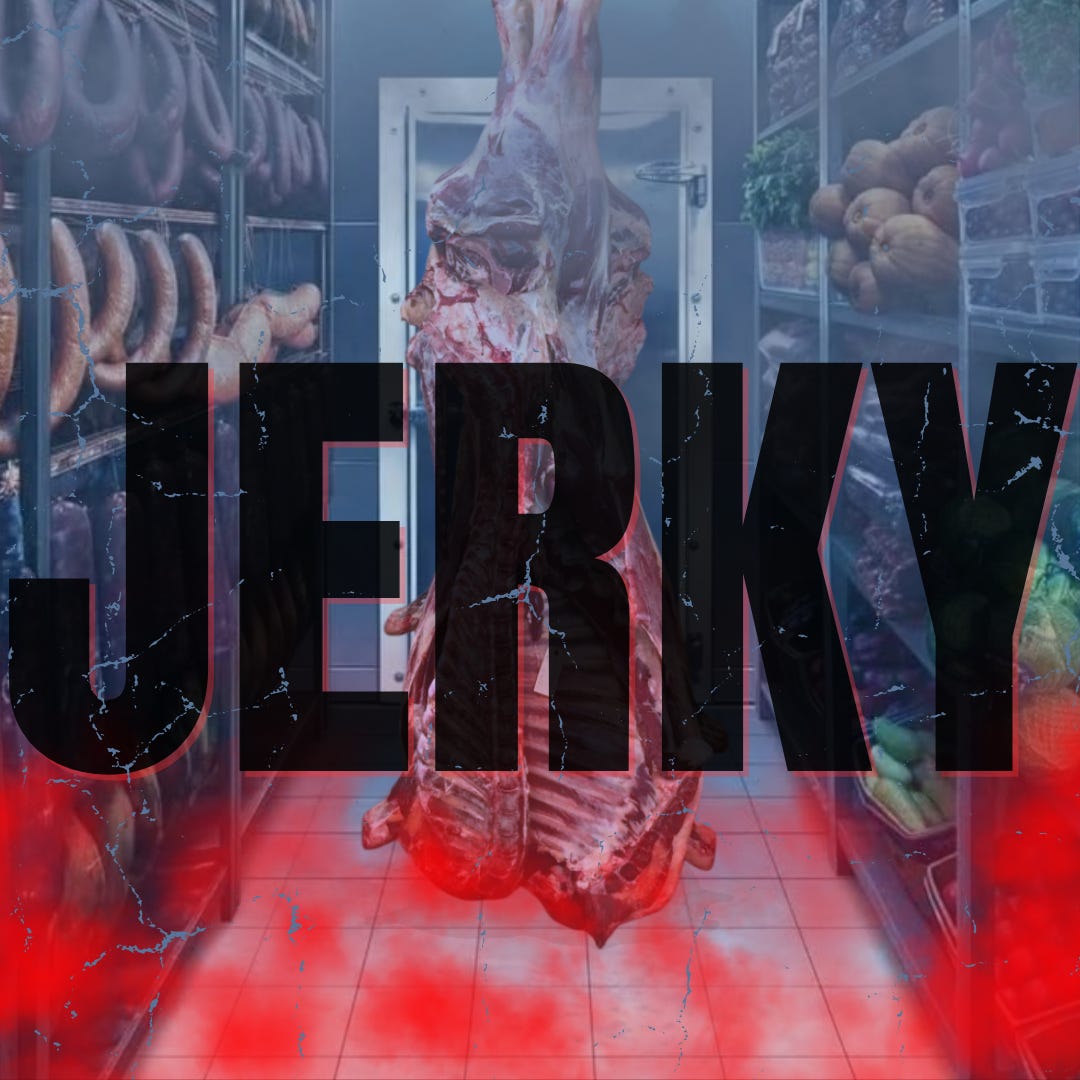
Jerky
Instruction on Jerky | by Edith Bow


Memento Vivere Main Hub
This guide is a companion to a forming compilation of articles meant to give you information you may need if your area faces considerable hardship, catastrophe, or violence.
Some of these guides are simple, providing everyday information not necessarily pointed at survival, defense, or war. Much of the information below and in the articles to come will cover topics you may already be intimately familiar with, and that’s okay. In other articles to come, other guides we will link along the way, there may be something that saves your life.
Jerky | Edith Bow
🥩Dehydrating to make jerky (this is when bendy matters)
What to dehydrate:
Lean meat (fat goes rancid)
Thin slices
What we want:
Salt & heat (controls bacteria)
BENDY
Fully dry (no moisture pockets)
Best meats:
Beef, Turkey breast, Venison
(Beef is gold standard)
Prep:
Trim all visible fat, partially freeze 30-60 min (easier for slicing but not necessary), slice 1/8-1/4 inch thick
-with the grain~ chewier
against the grain ~ tender
Season:
1tsp salt per lb meat
(Optional seasonings added: coriander, ginger, black pepper mild dried herbs)
Avoid sugary marinades because it slows down the dehydration method.
-No overnight marinades
-No wet marinades
No “resting” meat
No stacking
No sugar or honey
Assuming we have no refrigerator we are skipping other steps to go right into salt & drying, no time wasted.
Do not let the meat sit warm & wet.
🔥Methods:
I. Dehydrator:
160F approx, let it run 10-15 min, load trays, one layer no touching, leave space for airflow around each strip.
Dry at 160F 4-8 hours, rotate as needed for uneven drying if that’s a thing in your dehydrator. Check if it’s done by:
Bends & cracks after cooling for 5 min
Bends but doesn’t crack/feels soft inside = not done
Oven on lowest heat - 170F:
Put an oven rack in the middle.
Place jerky strips on a wire rack set over a tray (air needs to reach both sides).
No rack? You can use a baking sheet, but you’ll need to flip often.
Crack the oven door open 1/2–1 inch (wooden spoon handle works).
This vents moisture so the meat dries instead of “steams.”
Dry 4–7 hours, depending on thickness and your oven.
Flip at 2 hours and again every hour after that if you’re not using a rack.
Start checking around hour 4:
Cool 5 minutes
Bend test: crack = done
Center must not be moist!
II. Solar Dryer/Air Flow:
This is the traditional method, but it’s weather dependent and only safe under the right conditions.
Use this method only if:
Daytime temperature is warm and dry
You can keep flies/dust off the meat
You can get steady airflow
You can still apply heat at some point (even brief) to hit safe temps
Build a drying set up:
Use a screened rack or hang strips on clean hooks.
Cover with fine mesh/cheesecloth to block insects.
Keep strips in shade with airflow (direct sun can cook the outside while inside stays wet).
Keep strips separated so air moves freely.
Heat set up:
A covered heat box/smokehouse style setup
(What this means: In low-resource situations, it can be a box, barrel, tented rack, or cabinet near a low heat source.)
III. SIMPLE COVERED HEAT BOX idea:
Box + heat source (most accessible)
What you need:
A large box (wood, metal, thick cardboard lined with foil)
A rack or sticks to hang meat
A low heat source
Charcoal
Small wood fire
Sterno / alcohol burner
A way for air to enter and exit
Temp needs to be 160F
A. Build the box
Meat goes in the top half
Heat source goes in the bottom
Keep 12–24 inches between heat and meat
Cut or leave:
Small opening near the bottom (air in)
Small opening near the top (moist air out)
You want warmth, not flames.
Use coals, not active fire
Heat should feel like:
Warm hands over it
Not painful
B. Target internal air temp:
Roughly 140–170F if you can measure
If not: warm, dry air, not hot blast
Too hot = cooked outside, raw inside (bad)
If not: warm, dry air, not hot blast
C. Hang or rack the meat:
Hang strips on hooks or lay on racks
Do not let pieces touch
Air must move around every piece
D. Cover but don’t seal:
Close the box
Leave vents open
If using cloth or tarp, keep it loose, not airtight
You want:
Bugs out/moisture escaping
E. Maintain gentle heat:
Add small amounts of fuel as needed
F. Check every 30–60 minutes
If meat sweats or looks shiny = too hot
If flies land =enclosure too open
G. Optional: light smoke (traditional)
A little smoke helps preservation
Not required
Use hardwood only (oak, hickory, apple)
Avoid heavy smoke= bitterness isn’t safety
H. Dry time
8–24 hours, sometimes longer can take 1-3 days depending on climate. Check how it works in your area.
Depends on thickness, weather, and heat
Bring meat inside overnight if:
Dew forms/temperature drops/humidity rises
I. Know if it works:
Cool a strip
BENDY
Cracks, no wet center
Smells clean, salty
IV. Fire assisted low heat (hardest to do, survivalist method)
You use a small fire to create warm, dry air, not flames, and you keep the meat far enough away that it dries instead of cooks. Think bonfire, a metal rack over fire (needs space in between), or a grill.
Non-negotiable safety rules:
No flames under meat/ only embers / coals/meat must never drip onto fire/ never leave unattended/ventilation always open
If you fail this, stop.
Build the fire (this is the foundation)
Hardwood only (oak, hickory, apple, maple)
No softwoods, trash, treated wood, or resinous wood
How to start:
Build a small fire
Let it burn down completely
You want glowing embers, not flames
Set distance (this matters more than fire size)Meat should be 3–6 feet above or away from embers
More distance = safer
Hand test
Hold your hand where meat will be
You should feel steady warmth, not pain
If it’s uncomfortable=too hot
Control airflow (drying depends on this)
You need:
Air in near the fire
Warm air rising past meat
Moist air out above
How to do this:
Crack doors or vents
Never seal the space
Smoke should drift, not billow
Hang/Rack the meat
Hang strips on hooks or rods
Place on racks with airflow above and below
Pieces must not touch
Keep meat well above heat source
Maintain gentle heat
Target conditions:
Warm, dry air/ roughly 140–170F/ no sizzling, bubbling, or dripping fat (that’s why you have to cut the fat prior)
What to watch for
Meat looks matte, not shiny
No steam coming off meat
If meat sweats= too hot
If meat stays soft after hours = not warm enough
Time & tending
Drying takes 8–24 hours
Add small amounts of fuel as embers fade
Check every 30–60 minutes
Rotate or reposition meat if needed
Overnight rule
Bring meat inside and resume next day, if temp drops, humidity rises, dew forms.
Temp necessary:
160F (71C) for beef
Check if it’s done by:
BENDY & cracks
Smoky, clean meat smell
Bad= soft spongy wet inside, sour & sweet smell
⭐Conditioning (all methods)
Jar loosely 1-2 days
Shake daily 1-2x
If moisture appears re dry
⭐Storage (all methods)
Air tight storage, keep cool and dry, no heat or light exposure, label with date
Shelf life for all jerky 2 weeks - 1 month
Sub to Edith if you have not already.
Stay tuned for more.
Head back to the main rag.
 | A guest post by
|
This was fun to write because it reminded me of all the ways to make jerky. It is also informative for people who write dystopian horror, should they have their MC or adjacent make jerky or jerky lovers in general. It's a good way to get protein in survival settings and control salt intake. Thank you for having me. You're doing such good work on nutrition, appreciate you.
Pemmican is great, too.
I love inserting "how-to survival" stuff into my stories when I can. Not only entertaining, but subconsciously teaching survival methods? Heck yeah.